
Struggling to resize images for web without quality loss? You’re not alone. Photos straight from cameras or phones run thousands of pixels wide. Websites only need a fraction of that. Resizing correctly keeps visuals sharp while slashing file size dramatically.
This guide explains why dimensions matter, walks through the simplest resizing workflow, and shares pro tips for crisp results. By the end, you’ll handle image dimensions like a designer.
Why Image Dimensions Matter for the Web
Browsers scale images, but they don’t shrink file size when they do. A 4000-pixel photo displayed at 1000 pixels still downloads as 4000 pixels worth of data. Resizing before upload fixes that completely.
Furthermore, oversized images waste bandwidth. Mobile users on metered plans pay for data they don’t need. Page speed scores drop. SEO rankings follow. Smart resizing prevents all these issues at once.
Standard Web Image Sizes
- Hero banners: 1920px wide for large screens
- Blog post images: 1200px wide for content areas
- Thumbnails: 300-600px for grids and galleries
- Profile photos: 200-400px for avatars
- Social media: 1080px for Instagram, 1200×630 for Facebook shares
- Email signatures: 200-400px wide for inbox display
Step-by-Step: Resize Images Online
Browser-based resizers handle the work in seconds. No design software or technical skills required. Here’s the fastest workflow.
Step 1: Upload Your Images
Visit our Image Resizer. Drag photos into the upload zone. Most tools handle multiple images at once for batch processing.
Step 2: Set Target Dimensions
Enter the width or height you need. Most tools maintain aspect ratio automatically. Pick standard sizes like 1200px for blog images or 1920px for hero banners.
Step 3: Download Resized Images
Save the resized files. Compare quality to originals — properly resized images look identical at display sizes. Upload them to your site or share wherever needed.
Preserving Quality During Resize
Resizing algorithms matter. Bilinear scaling produces decent results quickly. Bicubic algorithms preserve detail better. Lanczos resampling, used by professional tools, delivers the sharpest output.
| Algorithm | Speed | Quality |
|---|---|---|
| Nearest Neighbor | Fastest | Pixelated |
| Bilinear | Fast | Decent |
| Bicubic | Medium | Good |
| Lanczos | Slow | Excellent |
Tips for Crisp Resized Images
Smart habits keep images sharp. First, always resize from the original. Resizing already-resized images compounds quality loss with each step.
Second, never upscale unless absolutely necessary. Enlarging small images introduces blur. Third, sharpen slightly after resizing. A subtle sharpening pass restores edge crispness lost during downsampling.
Common Resizing Mistakes to Avoid
- Breaking aspect ratio: Lock proportions to prevent stretched-looking images
- Upscaling small images: Causes blur; use vector graphics instead
- Skipping compression after resize: Pair resizing with compression for max savings
- Resizing once and reusing everywhere: Create proper sizes for each context
- Ignoring high-DPI screens: Provide 2x resolution for retina displays
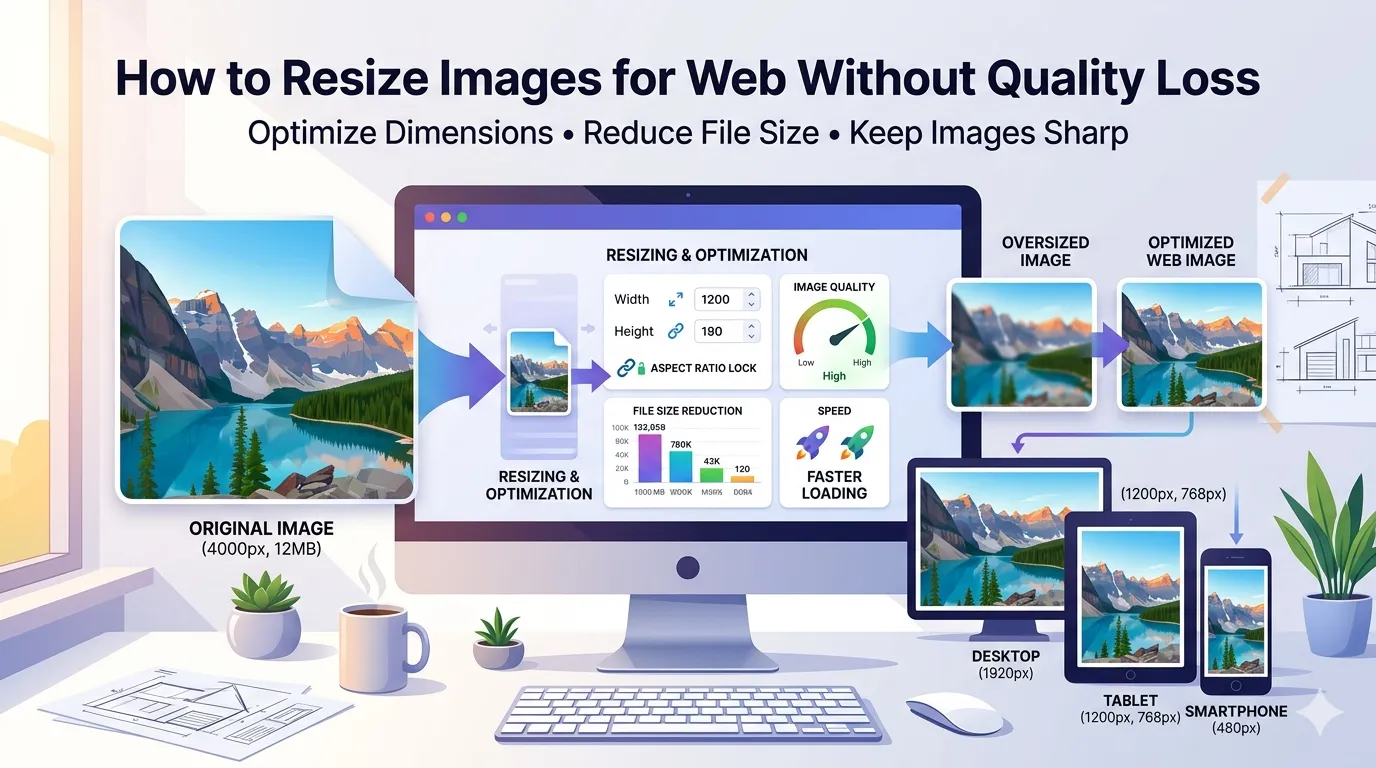
Resizing for Different Devices
Modern web design demands multiple image sizes. Phones display narrow content. Tablets sit in between. Desktops show wide layouts. Serving the right size to each device speeds up everything.
Most CMS platforms generate responsive sizes automatically. Manual sites benefit from creating 480px, 768px, 1200px, and 1920px versions of key images. Pair with the HTML srcset attribute for adaptive loading.
Combining Resize With Other Optimizations
Resizing pairs well with other image tools. Compress resized files using our Image Compressor for major size savings. Convert formats with our Image to WebP converter for even better compression.
For bundling multiple resized images, try the Image to PDF converter. Each tool tackles a specific job, and together they form a complete optimization workflow.
Privacy When Resizing Sensitive Images
Photos often hold personal data. ID scans, family pictures, and event memories deserve careful handling. Pick resizers processing files in your browser. Images stay on your device the whole time.
Read each tool’s privacy policy first. Reputable services delete uploads within an hour. Avoid platforms requiring account creation for one-off resizing tasks.
When NOT to Resize Images
Master files deserve their full size. Keep originals untouched for future editing flexibility. Resize only export copies for web use.
Also, print-bound images need higher resolutions. Web-sized 1200px photos look pixelated at letter print size. Keep separate copies for print and web rather than resizing aggressively for everything.
Right-Size Your Images for Faster Sites
Oversized images drag down page speed and frustrate visitors. Smart resizing fixes that while keeping visuals crisp. Combine it with compression and modern format conversion to deliver lightning-fast image experiences across every device.
Try our Image Resizer today. Free, secure, and ready whenever your photos need to fit perfect dimensions for any digital destination.