
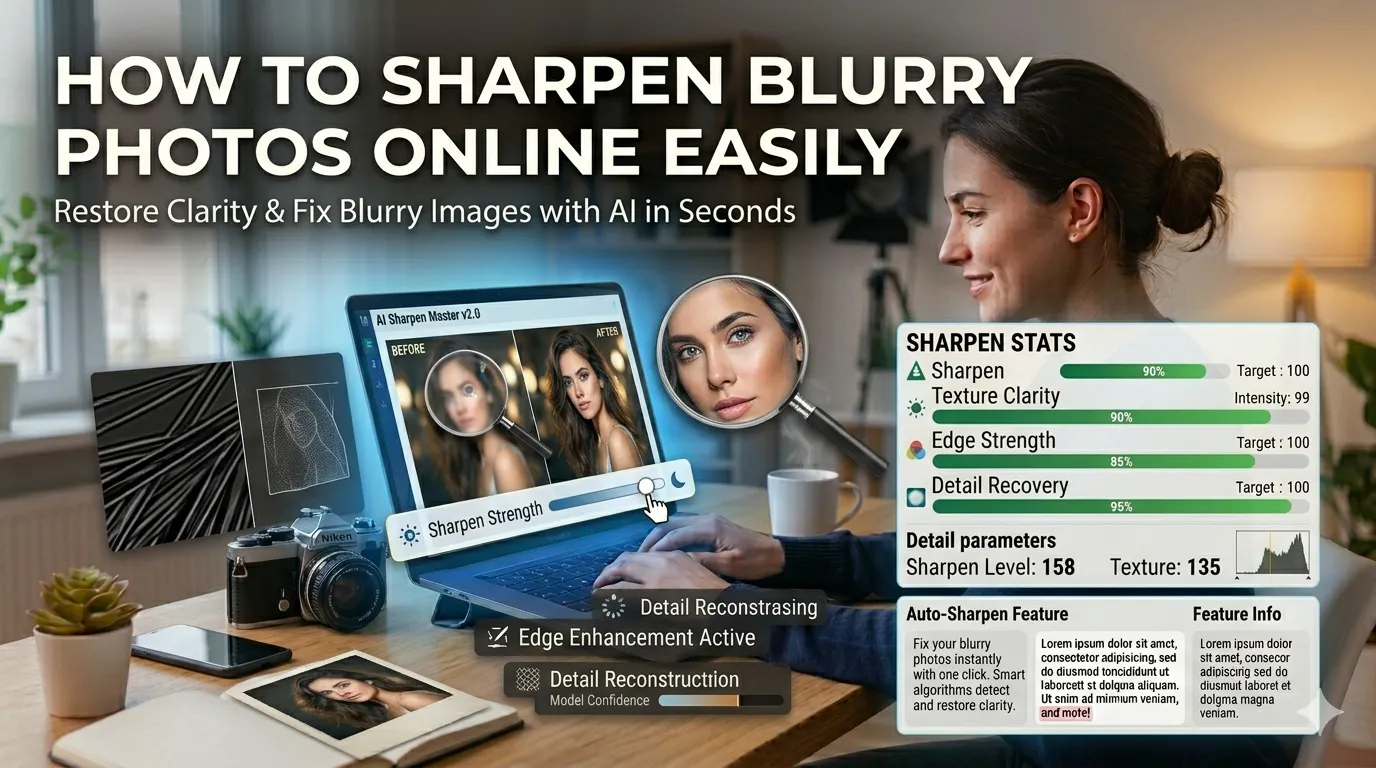
Got a slightly blurry shot you wish was sharper? Learning how to sharpen blurry photos online fixes the problem in seconds. AI-powered sharpening tools rebuild edge detail intelligently, transforming soft images into crisp, presentable photos. The results often surprise users who expected limited improvements.
This guide walks through the easiest method, explains different sharpening approaches, and shares pro tips for natural results. By the end, you’ll rescue any soft photo without expensive editing software.
Why Photos Turn Out Blurry
Cameras shake during slow shutter speeds. Subjects move while you press the button. Autofocus misses the intended target. Even tiny vibrations from breathing introduce softness at long focal lengths. Most blurry photos result from these everyday situations rather than equipment failures.
Furthermore, compression introduces softness during sharing. Social platforms re-encode uploads, reducing sharpness. Email forwards strip detail with each pass. Sharpening tools recover what those processes degraded along the way.
Common Reasons to Sharpen Photos
- Rescuing slightly blurry phone snapshots
- Restoring softness from compressed social media downloads
- Polishing product photos for e-commerce listings
- Crisping up zoom-cropped photos with reduced detail
- Improving real estate photos for clearer listings
- Sharpening scanned documents for better readability
Step-by-Step: Sharpen Photos Online
Browser-based sharpening tools handle the work in seconds. No design software required.
Step 1: Upload Your Blurry Photo
Visit our Photo Sharpener tool. Drag your image into the upload zone. JPG, PNG, and WebP formats work without issues.
Step 2: Set Sharpening Strength
Adjust the intensity slider. Light sharpening rescues minor softness. Heavy sharpening tackles obvious blur. Test settings before applying to avoid over-sharpening, which introduces harsh edge artifacts.
Step 3: Download the Sharpened Image
Save the improved photo. Compare against the original to verify quality gains. Use it on social media, in marketing materials, or in design projects with confidence.
Sharpening Techniques Compared
| Method | Effect |
|---|---|
| Unsharp mask | Classic technique, balanced results |
| Smart sharpen | AI-aware, protects subjects |
| High-pass filter | Sharpens edges only |
| AI deblur | Reconstructs missing detail |
| Edge enhance | Quick visible improvements |
Tips for Natural-Looking Results
Smart habits prevent over-sharpening. First, apply moderate strength first. Push intensity gradually until the image looks crisp without harsh edges.
Second, view at 100% before finalizing. Sharpening artifacts often hide at small previews but appear obvious at full size. Third, sharpen as the last editing step. Pre-sharpened images can’t gain much from further sharpening.
Common Sharpening Mistakes
- Over-sharpening: Creates harsh halos and digital noise
- Sharpening severely blurry photos: Can’t recover detail that was never captured
- Skipping the preview: Artifacts often hide at thumbnail sizes
- Re-sharpening: Compounds artifacts; sharpen once from original
- Sharpening noisy photos: Amplifies grain along with edges
When AI Sharpening Beats Traditional
AI sharpeners trained on millions of photos perform smarter than traditional filters. They recognize faces, objects, and textures separately. Skin gets gentle treatment. Eyes get focused enhancement. Backgrounds stay natural rather than artificially crispy.
For motion-blurred photos, AI can sometimes reconstruct missing detail. Traditional sharpening just enhances existing edges. The difference shows clearly on action shots, sports photos, and any image where motion caused the blur.
Privacy When Sharpening Personal Photos
Photos often carry personal value. Pick sharpening tools processing files in your browser. Family pictures and personal portraits stay on your device throughout the enhancement process.
Read each tool’s privacy policy first. Reputable services delete uploads within an hour. Avoid platforms requiring permanent account creation for one-off sharpening tasks.
Combining Sharpening With Other Tools
Sharpening fits broader photo workflows. Upscale low-resolution sources first using our AI Image Upscaler. Crop tightly with our Image Cropper to focus subjects before sharpening.
For print delivery, save sharpened photos as TIFF via our Image to TIFF converter. Each tool fits a specific step in modern photo enhancement.
When Sharpening Can’t Help
Severely blurry photos resist all sharpening. If you can’t identify subjects in the original, software can’t reconstruct them. Manage expectations based on source quality.
For irreplaceable photos with major blur, professional restoration services sometimes succeed where automated tools fail. They use advanced techniques on a per-photo basis. Reserve those services for truly priceless images that deserve manual recovery work.
Bring Crispness Back to Soft Photos
Slightly blurry photos don’t have to stay that way. With the right sharpening tool, you rescue softness in seconds and turn questionable shots into shareable images. AI-powered enhancement does the heavy lifting without manual skill.
Try our Photo Sharpener tool today. Free, secure, and ready whenever your photos need extra crispness without expensive editing software.