
Got a photo that’s too dark or washed out? Learning how to adjust photo brightness online fixes exposure problems in seconds. Online brightness tools rescue underexposed shots, dim overly bright ones, and balance mixed-lighting scenes effortlessly.
This guide walks through the easiest method, explains key adjustment options, and shares pro tips for natural-looking results. By the end, you’ll fix exposure issues confidently across any photo.
Why Photo Brightness Matters So Much
Bright photos feel inviting. Dark photos feel mysterious or muddy depending on intent. Wrong exposure breaks both effects. Underexposed shots hide subjects in shadow. Overexposed ones wash colors into white. Brightness adjustment puts the photo back on track.
Furthermore, screens display photos at varying brightness levels. What looks fine on your laptop may appear too dark on phones. Pre-adjusting brightness ensures photos look right across viewing contexts.
Common Brightness Adjustment Uses
- Rescuing underexposed indoor photos
- Toning down overexposed beach or snow shots
- Balancing mixed daylight and shadow scenes
- Brightening dark phone photos for social media
- Preparing real estate photos with consistent exposure
- Polishing product shots for e-commerce listings
Step-by-Step: Adjust Brightness Online
Browser-based brightness tools handle exposure correction in seconds. No design software required.
Step 1: Upload Your Photo
Visit our Photo Brightness tool. Drag your image into the upload zone. JPG, PNG, and WebP formats all work without issues.
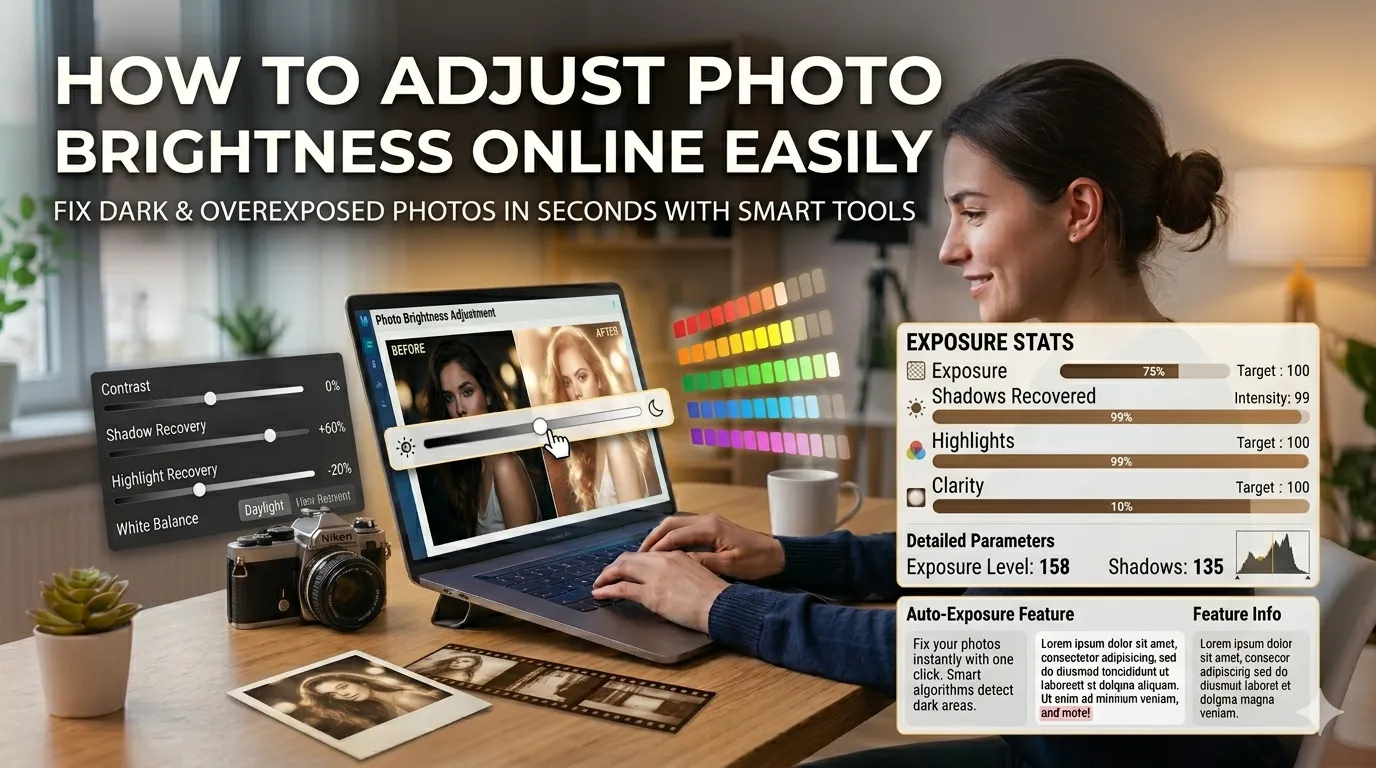
Step 2: Move the Brightness Slider
Slide right to brighten, left to darken. Most tools also offer contrast, saturation, and white balance controls. Adjust gradually while watching the preview. Subtle changes usually deliver the most natural results.
Step 3: Download the Adjusted Photo
Save the corrected image. Compare against the original to verify improvements. Use it on social media, in marketing materials, or print with confidence.
Key Exposure Controls Explained
| Control | What It Does |
|---|---|
| Brightness | Lifts or lowers overall light levels |
| Contrast | Increases gap between darks and lights |
| Saturation | Boosts or reduces color intensity |
| Shadows | Recovers detail in dark areas |
| Highlights | Recovers detail in bright areas |
| White balance | Adjusts overall color temperature |
Tips for Natural-Looking Adjustments
Smart habits keep edits invisible. First, adjust subtly. Subtle 10-20% changes often suffice. Heavy adjustments make photos look obviously edited.
Second, use shadow and highlight recovery before pushing brightness. They restore detail without flattening the whole photo. Third, check the histogram if available. A balanced histogram indicates well-exposed photos that don’t need further adjustment.
Common Brightness Mistakes
- Over-brightening shadows: Introduces noise in dark areas
- Crushed blacks: Excessive darkening loses subject detail
- Clipped highlights: Brightening too much turns whites into pure white pixels
- Ignoring color shift: Brightening sometimes affects color balance
- Saving over original: Keep backup copies before adjustments
When AI Brightness Tools Excel
AI-powered tools analyze photos intelligently. They recognize faces and apply different adjustments to skin versus backgrounds. Sky areas get treated differently than foliage. The result preserves what’s already right while fixing what isn’t.
For batch processing entire shoots, AI delivers consistent results across photos with similar exposure issues. The tool learns patterns and applies optimal corrections automatically across all files.
Privacy When Adjusting Personal Photos
Photos carry personal value. Pick brightness tools processing files in your browser. Family pictures stay on your device throughout the adjustment process.
Read each tool’s privacy policy first. Reputable services delete uploads within an hour. Avoid platforms requiring permanent account creation for one-off brightness adjustment tasks.
Combining Brightness With Other Tools
Brightness adjustment fits broader photo workflows. Sharpen after adjusting using our Photo Sharpener for final crispness. Apply filters with our Photo Filter after brightness for stylistic consistency.
For social-ready output, compress with our Image Compressor. Each tool handles a specific need in modern photo editing pipelines.
When Brightness Adjustment Isn’t Enough
Severely underexposed or overexposed photos have limited recovery options. Information lost during capture can’t return through brightness alone. Adjustments amplify existing data but can’t create what’s missing.
For irreplaceable photos with bad exposure, professional editing software offers advanced recovery techniques. Use Lightroom or similar tools when AI brightness adjustments fall short for important shots.
Fix Exposure Issues in Seconds
Dark or washed-out photos no longer need professional editing. The right brightness tool rescues exposure issues instantly. Whether sharing on social media or polishing marketing materials, smart adjustments deliver natural improvements.
Try our Photo Brightness tool today. Free, secure, and ready whenever your photos need balanced exposure for any viewing context.