
Want to apply filters to photos online free without downloading another app? You’re tapping into one of the easiest ways to transform ordinary snapshots into eye-catching visuals. From vintage tones to cinematic moods, online filter tools deliver Instagram-worthy looks in seconds.
This guide walks through the easiest method, explores popular filter categories, and shares pro tips for natural-looking results. By the end, you’ll style any photo like a pro editor.
Why Filters Transform Ordinary Photos
Filters add mood, atmosphere, and personality instantly. A bland snapshot becomes warm and inviting with the right preset. Cold photos warm up. Flat scenes gain drama. Filters do in seconds what manual color grading takes hours to achieve.
Furthermore, consistent filters create cohesive feeds. Instagram profiles with matched filters look professional and curated. Branded social accounts rely on this consistency to build visual identity.
Where Filters Make a Difference
- Building cohesive Instagram feeds with consistent looks
- Adding vintage charm to modern smartphone photos
- Setting mood for photography portfolios
- Enhancing food photos for restaurant marketing
- Creating dramatic looks for landscape shots
- Softening portraits for romantic vibes
Step-by-Step: Apply Filters Online
Browser-based filter tools handle the work in seconds. No app installations or paid subscriptions required.
Step 1: Upload Your Photo
Visit our Photo Filter tool. Drag your image into the upload zone. Common formats like JPG, PNG, and WebP work without issues.
Step 2: Pick a Filter
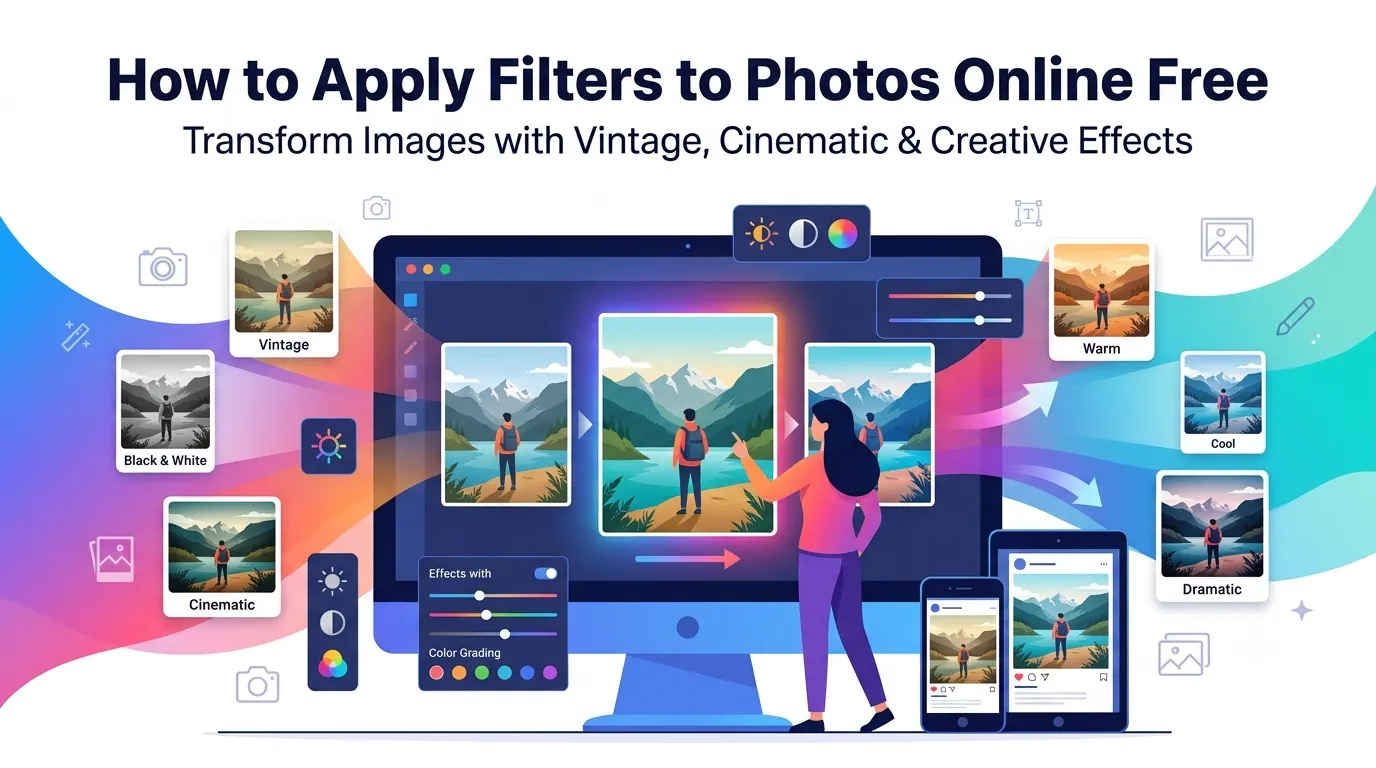
Browse filter categories: vintage, black and white, dramatic, warm, cool, cinematic, and more. Click any filter for instant preview. Adjust intensity if your tool offers fine-tuning controls.
Step 3: Download Filtered Photo
Apply the chosen filter and download. Save in your preferred format. Share on social media, use in design projects, or print directly without further editing.
Popular Filter Categories Explained
| Category | Mood Effect |
|---|---|
| Vintage | Nostalgic, warm tones with grain |
| Black and white | Timeless, dramatic contrast |
| Cinematic | Movie-like color grading |
| Warm | Sunny, golden hour feeling |
| Cool | Modern, fresh, blue-tinted |
| Dramatic | High-contrast moody atmosphere |
Tips for Natural Filter Results
Smart habits prevent over-edited looks. First, start with a well-exposed photo. Filters can’t fix bad lighting; they enhance what’s already there.
Second, apply filters subtly. 50-70% intensity usually beats 100%. Third, test multiple filters on the same photo. Different subjects suit different moods. What works for landscapes may overpower portraits.
Common Filter Mistakes
- Heavy filters on portraits: Skin tones look unnatural; use lighter settings
- Same filter on every photo: Match filter to subject for best results
- Filters hiding problems: Fix exposure issues before adding stylistic filters
- Inconsistent feed: Use the same filter style across related posts
- Over-saturating colors: Subtle saturation looks more professional
Building a Consistent Photo Style
Consistent filters create visual identity. Pick one or two filter styles that match your brand. Apply them across all photos for the same project, blog series, or social media account.
For Instagram, plan your filter approach before posting. Use the same filter or family of filters. Followers recognize your account instantly. Visual consistency strengthens your personal or brand identity over time.
Privacy When Filtering Personal Photos
Photos often carry personal value. Pick filter tools processing files in your browser. Images stay on your device throughout filtering, keeping content private from server-side processing.
Always check the privacy policy. Reputable services delete uploads within an hour. Avoid platforms requiring account creation for one-off filter editing tasks involving personal photos.
Combining Filters With Other Tools
Filters pair well with other photo tools. Crop first using our Image Cropper to focus the composition. Compress final filtered photos with our Image Compressor for faster social sharing.
For social-ready files, convert to JPG via our Image to JPG converter. Each tool tackles a specific job, building a complete photo styling workflow.
When Filters Make Things Worse
Filters can’t fix fundamental problems. Blurry photos stay blurry with filters added. Poorly composed shots don’t improve through color grading alone. Bad lighting becomes muddy rather than dramatic.
Reserve filters for photos that already look decent. Fix exposure, sharpness, and composition first. Then add filters as the finishing touch that elevates good photos into great ones.
Style Every Photo With One Click
Ordinary photos compete with billions of others online. Filters give yours personality and instantly recognizable style. With the right tool, transforming snapshots into polished visuals takes seconds.
Try our Photo Filter tool today. Free, secure, and ready whenever your photos need that finishing touch that makes them stand out in any feed.