
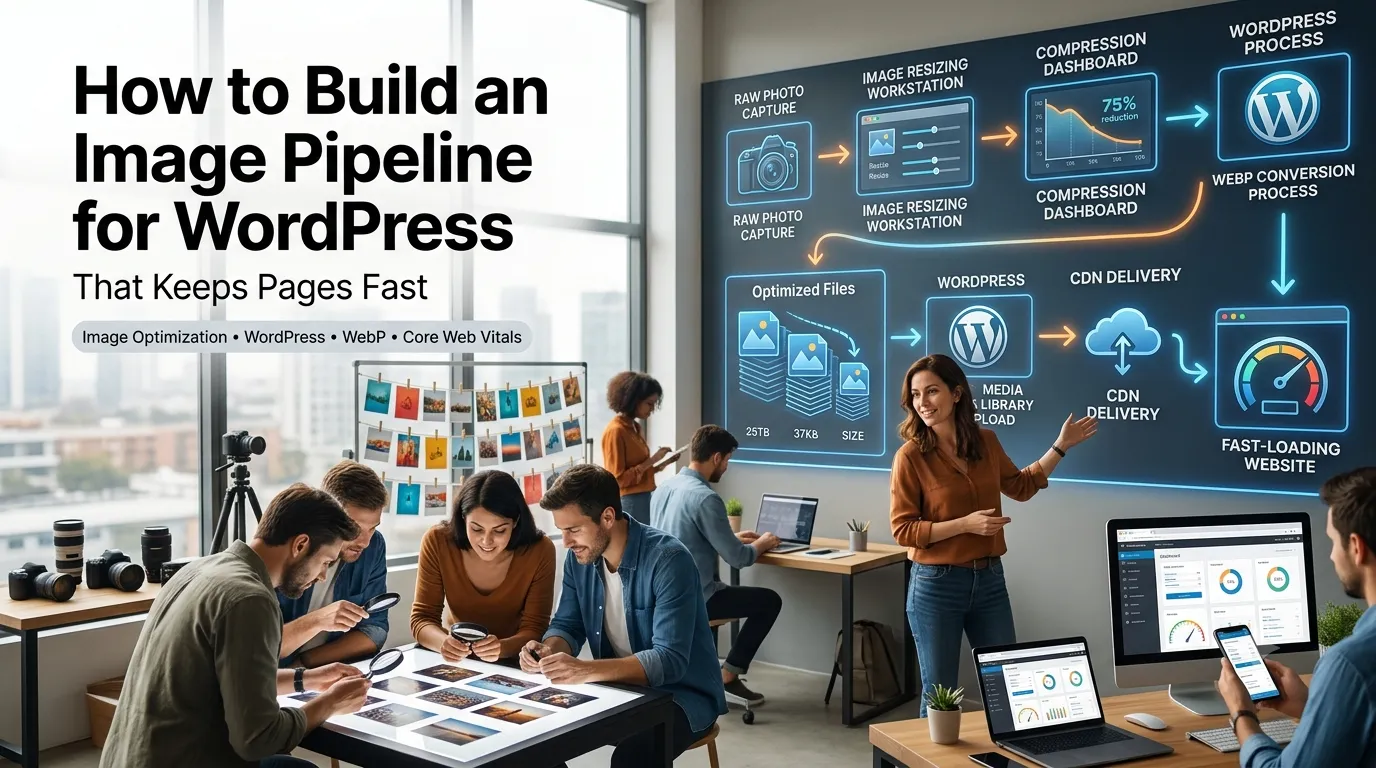
An image pipeline for WordPress is the repeatable process you use to prepare, upload, and serve images so pages stay fast and crisp. Without one, every blog post slowly drags your site speed down.
This guide builds a simple image pipeline for WordPress using free tools. You will resize, compress, convert, and upload images in a way that saves time and protects Core Web Vitals.
Why an image pipeline matters
Images are usually the largest assets on a page. A single oversized hero image can wipe out months of careful CSS and caching work. A pipeline keeps quality high and weight low across hundreds of posts.
A consistent process also reduces decision fatigue. Writers stop guessing about size, format, and naming, which means faster publishing and fewer mistakes.
Step 1: Plan the image sizes you need
- Hero image — 1600 by 900 pixels
- In-body image — 1200 pixels wide
- Featured thumbnail — 1200 by 630 pixels for Open Graph
- Author avatar — 200 by 200 pixels
- Logo and favicon variants
Step 2: Resize before uploading
Use an image resizer to crop and scale images down to your target dimensions. Uploading a 6000 pixel wide photo into a 1200 pixel slot wastes bandwidth and slows pages even after WordPress generates smaller versions.
Save the resized file with a descriptive name in lowercase with hyphens. Good filenames double as SEO signals and stay readable when shared.
Step 3: Compress without losing quality
Run resized images through a image compressor set to high or medium quality. Most photos shrink by 50 to 80 percent with no visible difference.
For diagrams and screenshots, prefer PNG to keep crisp edges. For photos, JPEG or WebP usually wins. A PNG to JPG converter helps when files need to be smaller.
Format choice cheat sheet
- Photos — JPEG or WebP
- Screenshots and diagrams — PNG or WebP
- Logos with transparency — PNG or SVG
- Animations — MP4 or WebP, avoid heavy GIFs
Step 4: Convert to WebP or AVIF where supported
Modern WordPress themes and image plugins serve WebP or AVIF automatically when browsers support them. These newer formats often deliver 30 percent smaller files than JPEG or PNG at the same visible quality.
If your plugin does not auto-convert, batch convert offline before uploading. Keep a JPEG or PNG fallback in the same folder for older browsers.
Step 5: Upload with alt text and consistent naming
Inside WordPress, add descriptive alt text that explains the image in plain language. Use a word counter to keep alt text under 12 words while still being clear and specific.
Choose a featured image for every post so Open Graph previews always look polished. Pair it with the right meta tags using an Open Graph generator when needed.
Step 6: Monitor speed and storage
- Run PageSpeed Insights monthly
- Watch Largest Contentful Paint for hero images
- Audit your media library for unused files quarterly
- Track storage growth with a simple percentage calculator
- Update old posts when images look outdated